


You know that moment when you reach for your razor and notice that weird gunk between the blades? Yeah, we're going there. Let's be real—most of us know we should be cleaning our razors more often, but who wants to drop serious cash on specialized cleaners when there are so many other self-care essentials calling our names? The good news? Keeping your razor bacteria-free doesn't require expensive products or a PhD in microbiology. In fact, some of the most effective solutions are probably already sitting in your bathroom or kitchen right now. Let's talk about how to keep your razor fresh, clean, and ready for that silky-smooth shave without breaking the bank.
Why Does Bacteria Love Hanging Out on Your Razor Anyway?
Here's the thing: your razor lives in basically the perfect bacteria resort. Think about it—it hangs out in a warm, humid bathroom, gets coated with dead skin cells, oils, and shaving cream residue, and probably stays damp between uses. That's like an all-inclusive vacation package for bacteria.1 Every time you shave, tiny particles of skin and hair get trapped between those blades, creating little pockets where bacteria and even mold can set up camp.
The reality is that a contaminated razor isn't just gross—it can lead to razor burn, folliculitis (those annoying red bumps after shaving), and even infections if you have any nicks or cuts.2 But before you panic and start shopping for expensive antibacterial razor cleaning systems, take a breath. Preventing buildup is actually way simpler (and cheaper) than you might think. It's all about consistency and using what you've got on hand.
The Hot Water Rinse: Your First Line of Defense
Let's start with the simplest trick in the book: actually rinsing your razor properly. And no, a quick swish under lukewarm water doesn't count. After every single shave, hold your razor under hot running water—as hot as your tap goes—for at least 30 seconds. The heat helps dissolve oils and shaving product residue while the water pressure flushes out trapped hair and skin cells.3
While you're rinsing, gently tap the razor head against the sink (not too hard—you don't want to damage those blades) to dislodge any stubborn debris. You can also carefully run your thumb along the back of the blades to push out anything stuck between them. This two-minute habit after every shave can honestly prevent about 80% of the bacteria buildup that happens on razors. Plus, it's completely free, which makes it our favorite kind of beauty hack.
Pro tip for an even better rinse:
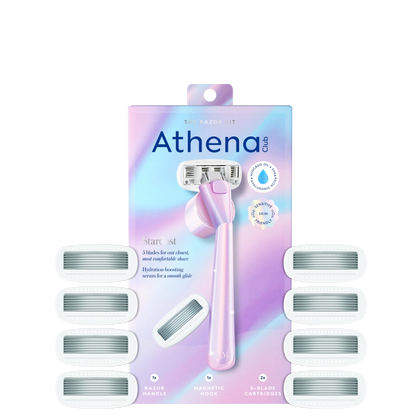
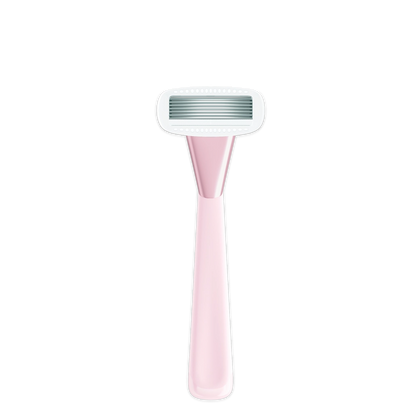
If you're using a quality razor like the Razor Kit with its thoughtfully spaced 5-blade design, you'll notice that proper rinsing is way easier. Those strategically spaced blades mean less gunk gets trapped in the first place, and the debris that does accumulate rinses out more easily. It's one of those design details that makes a real difference in your daily routine.
The Magic of Rubbing Alcohol (Seriously, It's a Game-Changer)
Here's your budget-friendly secret weapon: plain old isopropyl rubbing alcohol. You can grab a bottle at any drugstore for a couple of dollars, and it'll last you months. After you've done your hot water rinse, dip your razor head into a small cup of rubbing alcohol (at least 70% concentration) for about 30 seconds. The alcohol disinfects the blades, kills bacteria, and has the bonus benefit of evaporating quickly so your razor dries faster.4
This technique is especially clutch if you're dealing with a particularly stubborn razor burn situation or if you've noticed any irritation after shaving. The alcohol eliminates the bacteria that might be causing issues without any harsh scrubbing or expensive antibacterial solutions. Just make sure to let the alcohol evaporate completely before your next shave—you don't want that stinging sensation on freshly shaved skin. Trust us on this one.
If you want to get really fancy (while still staying budget-conscious), you can add a few drops of tea tree oil to your alcohol solution. Tea tree oil has natural antibacterial properties and leaves your razor smelling fresh instead of medicinal. But honestly? Plain rubbing alcohol works perfectly fine on its own.
The Drying Situation: Where Most People Go Wrong
Let's talk about what happens after you rinse your razor, because this is where things get real. If you're leaving your razor sitting in the shower or on a wet ledge, you're basically inviting bacteria to throw a party. Moisture is the enemy here—bacteria and mildew thrive in damp environments, and your razor staying wet between shaves is the number one reason buildup happens so quickly.1
The solution? Get your razor out of the shower zone. After rinsing and optional alcohol dipping, shake off excess water vigorously (or better yet, give it a quick pat with a clean towel). Then store it somewhere dry and well-ventilated. An old toothbrush holder works great, or you can get creative with a small hook on your bathroom wall. The Razor Kit actually comes with a magnetic storage hook, which is genius because it keeps your razor elevated, allows air circulation, and looks way chicer than a pile of razors on your shower shelf.
The overnight trick:
For extra bacteria-fighting power, store your razor in a cup of rubbing alcohol overnight once a week. It sounds intense, but it's like a deep-clean spa treatment for your razor. In the morning, just rinse it with hot water before using. This weekly routine can extend the life of your blades and keep everything seriously clean.
DIY Cleaning Solutions That Actually Work
If rubbing alcohol isn't your vibe, there are other budget-friendly options already in your home. White vinegar is a natural disinfectant that works wonders on razor bacteria. Mix equal parts white vinegar and water, soak your razor head for 5-10 minutes, then rinse thoroughly with hot water. Yes, it smells a bit like salad dressing at first, but the scent dissipates quickly and your razor will be seriously clean.4
Another option? Good old dish soap and hot water. Use a small cleaning brush (an old toothbrush works perfectly) to gently scrub between the blades with a drop of dish soap and hot water. This physically removes buildup while the soap helps break down oils and residue. Just make sure you're using a gentle touch—you're cleaning, not trying to scrub the coating off your blades.
Baking soda paste is another option for those really stubborn situations. Mix a small amount of baking soda with water to create a paste, apply it to the razor head with a soft brush, let it sit for a few minutes, then rinse thoroughly. The gentle abrasive action helps remove buildup without damaging your blades. It's like an exfoliating treatment for your razor.
Prevention Is Honestly Easier Than Cleaning
Here's something that'll make your life easier: preventing buildup in the first place means less intense cleaning later. Start with quality shaving products that rinse clean rather than leaving heavy residue. Products with oils and butters can be amazing for your skin but sometimes leave more behind on your blades.
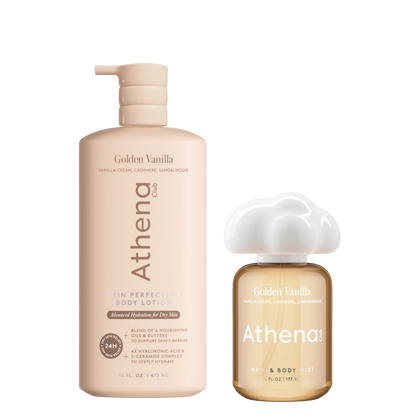
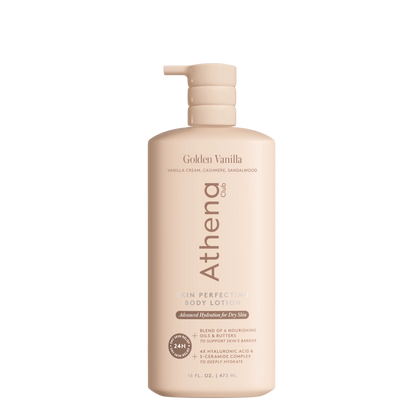
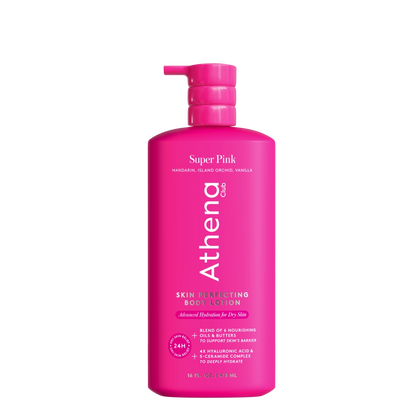
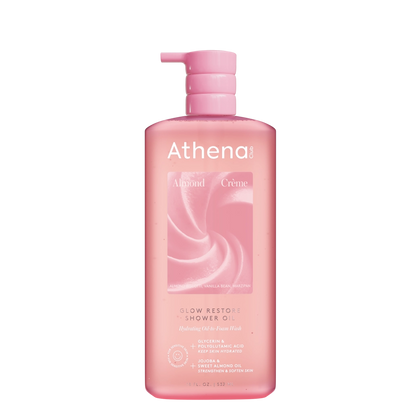
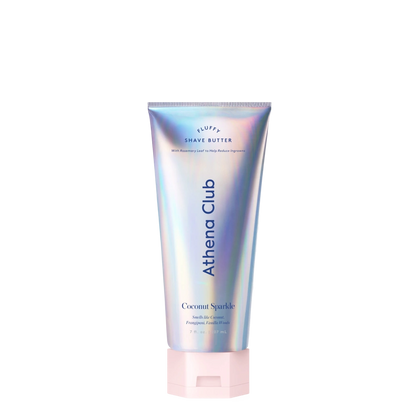
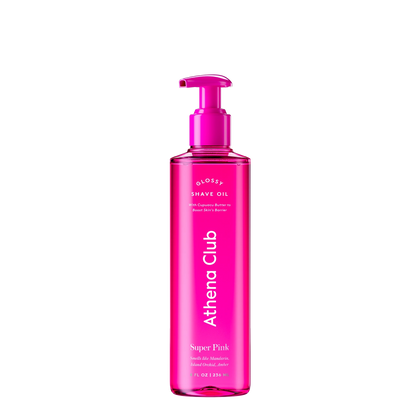
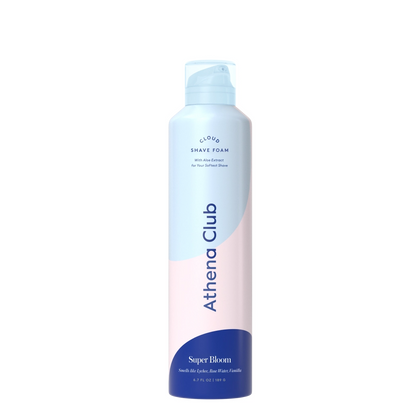
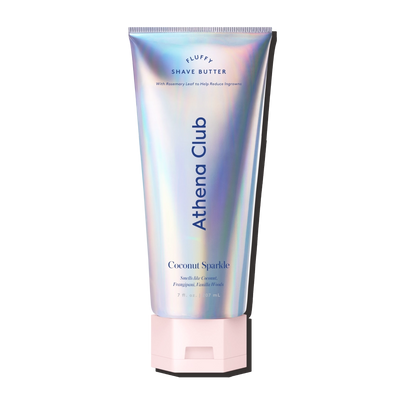
That said, the Glossy Shave Oil and Fluffy Shave Butter (which won Allure's Best of Beauty Award in both 2024 and 2025, by the way) are formulated to provide that luxe, skin-nourishing shave while still rinsing relatively clean. The SKINCLOUD™ technology in the Glossy Shave Oil creates that silky glide without gunking up your razor blades, and the Fluffy Shave Butter's thick, creamy formula rinses away more easily than traditional shaving creams.
Another prevention hack? Replace your blades regularly. We know, we know—this technically costs money, so it's not completely "free." But using dull blades forces you to go over the same area multiple times, which increases skin cell buildup and bacteria exposure. Fresh blades cut cleaner, require fewer passes, and accumulate less gunk. Most people should swap blades every 5-7 shaves, or sooner if you notice tugging or irritation.
The Pre-Shave Prep That Makes Everything Better
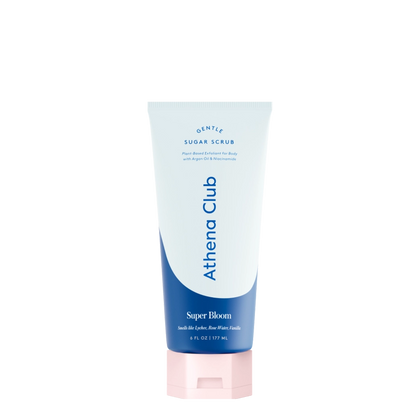
Let's rewind for a second and talk about what happens before you even pick up your razor, because this actually impacts bacteria buildup too. Exfoliating before you shave removes dead skin cells that would otherwise end up trapped in your razor. Use a gentle sugar scrub or exfoliating washcloth a few times a week to keep skin smooth and reduce the amount of debris that transfers to your blades.
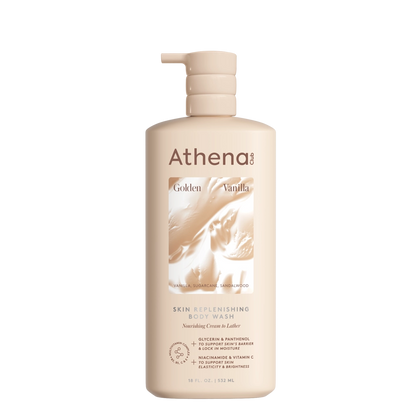
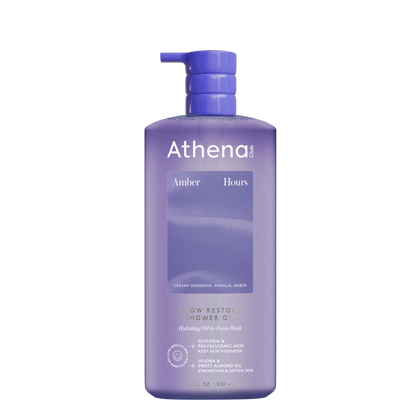
The Skin Replenishing Body Wash—which won Elle Magazine Canada's Beauty Grand Prix in 2025—has a pH-balanced formula with a vitamin complex that preps your skin perfectly for shaving. Clean, well-prepped skin means less gunk on your razor, which means less bacteria buildup. It's all connected, and honestly, this is the kind of routine upgrade that makes everything else easier.
Also, always shave on wet, warm skin. The warmth opens pores and softens hair, which means smoother cutting and less resistance. Less resistance equals less skin irritation and fewer skin particles getting lodged in your razor. See? It all comes back to prevention.
The Complete Budget-Friendly Razor Care Routine
Okay, let's put it all together into a routine that actually works without requiring a complicated schedule or expensive products. Here's your new razor care ritual:
- After every shave: Rinse thoroughly under hot running water for 30 seconds while tapping gently to remove debris
- After every shave: Shake off excess water and pat dry with a clean towel
- After every shave: Store in a dry, well-ventilated spot away from shower spray
- Once or twice a week: Dip in rubbing alcohol for 30 seconds after rinsing
- Once a week: Do a deeper clean with dish soap and a soft brush, or try the vinegar soak method
- Every 5-7 shaves: Replace your blade cartridge (your skin will thank you)
This entire routine uses stuff you probably already have and takes maybe two extra minutes of your time. Two minutes to prevent infections, razor burn, and that gross buildup that makes you side-eye your razor every time you reach for it? Absolutely worth it.
When to Actually Invest in Something New
Look, we're all about budget-friendly solutions here, but sometimes the smartest financial move is investing in quality from the start. If you're using a cheap disposable razor with blades crammed super close together, no amount of cleaning is going to prevent serious buildup. Those blades are designed to be used a few times and tossed, and they're nearly impossible to clean thoroughly.
A quality razor with a better blade design—like the Razor Kit with its spaced-out 5-blade system and hyaluronic acid serum strip—is actually more economical in the long run. Better blade spacing means easier cleaning, less buildup, and blades that stay sharp longer. The premium aluminum handle with non-slip coating also means you're less likely to drop and damage your razor, which extends its life even further. Plus, you'll get a closer shave with fewer passes, which means less irritation and fewer skin cells ending up in your razor in the first place.
Think of it as the "buy nice or buy twice" philosophy. Sometimes spending a bit more upfront saves you money, frustration, and potential skin issues down the line.
The Bottom Line
- Hot water rinses after every shave are your cheapest and most effective prevention method—just 30 seconds can make a huge difference
- Rubbing alcohol is your budget MVP for disinfecting razors, and a bottle costs just a few dollars and lasts months
- Drying your razor completely and storing it outside the shower prevents most bacteria growth—moisture is the real enemy here
- DIY solutions like vinegar soaks and dish soap scrubs work just as well as expensive specialty cleaners
- Prevention through quality products and regular blade replacement actually saves money long-term while keeping your skin happier
Your Fresh Start Starts Now
Here's the beautiful truth: you don't need to buy expensive razor cleaning systems or specialty products to keep your razor bacteria-free. With just hot water, rubbing alcohol, and a few simple habits, you can maintain a clean, safe razor that gives you that silky-smooth shave every single time. The key is consistency—these small steps after every shave add up to major results.
And honestly? When you pair these budget-friendly cleaning habits with quality products designed to work together, you're creating a shaving routine that feels less like a chore and more like actual self-care. That's the whole point, right? Taking care of yourself shouldn't be complicated or expensive. It should just feel good.
Ready to level up your routine? Check out the Athena Club collection and find your new favorite.
Sources
- American Academy of Dermatology Association. "How to Prevent Razor Bumps and Ingrown Hairs." Accessed 2025.
- Cleveland Clinic. "Folliculitis: What It Is, Symptoms & Treatment." Accessed 2025.
- Mayo Clinic. "Shaving: Tips for a Smooth, Safe Experience." Accessed 2025.
- Centers for Disease Control and Prevention. "Guideline for Disinfection and Sterilization in Healthcare Facilities." Accessed 2025.


